
Masks are ways that you can change up your layout and give it a little fade effect that will make the whole layout pop! This is a really easy technique to learn. You can use masks for many many things, but it seems that they are widely used with papers and photos. When you learn how to mask, you are also learning a way to non-destructively edit your photos. By that, I mean that you are able to restore your image back to the way it was originally. I also find that masks are much easier to use than working with the eraser tool, and by far, the quickest! Here are a couple of ways to try out masks for your layouts.
Basic Clipping Mask:
- Open your photo in PSE or PS.
- Start a New Document, by Right Clicking and Duplicating your photo in a New or Untitled file. Save.
- Select the photo mask you wish to use, and open it in PSE or PS.
- Drag the photo onto the photo mask so that it is the layer above the photo mask.
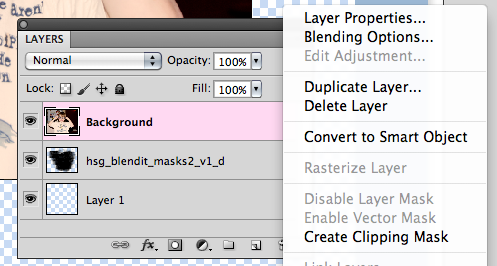
- Right click and select CreateClipping Mask or Ctrl+G (Mac: Cmd+G) to clip it together.
- To use it in a layout, select the Layer and right click, choose Merge Visible.
- Drag or Duplicate the photo onto your layout
Tip: Change the opacity of the brush in the layers to show or hide more of your photo.
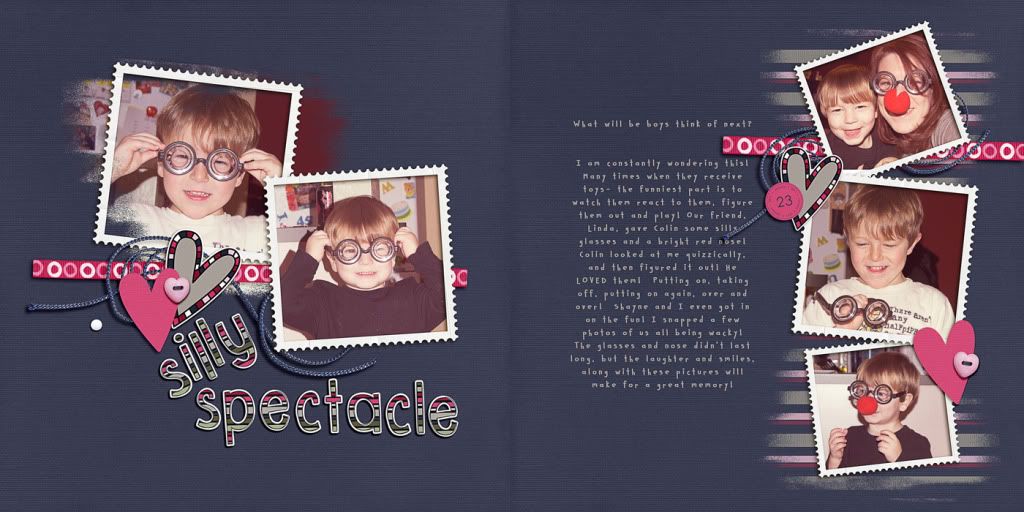
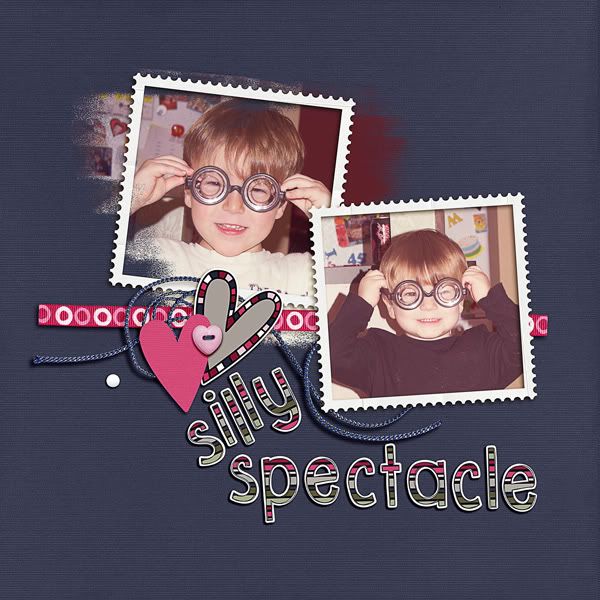
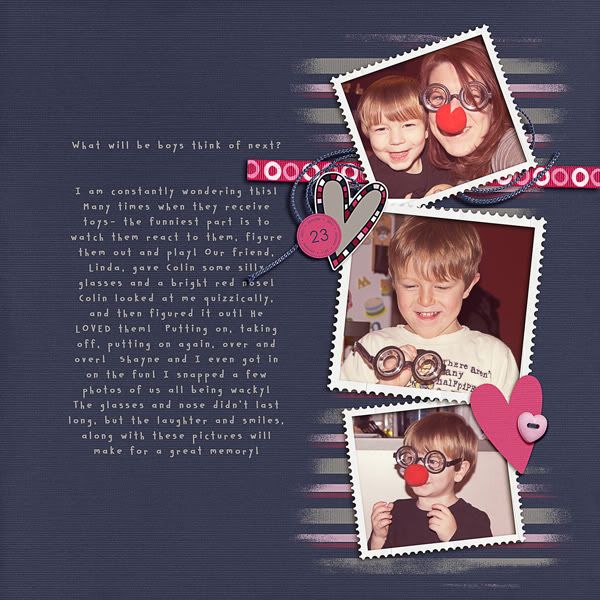
Here is a layout that I made that shows off the versatility of clipping masks and how they can be changed for different looks. In my example, I used Jennifer Labre's Love Me Do (Link: http://shop.scrapmatters.com/product...tid=7677&cat=6, Happy Scrap Girl's, Blend It Masks 2 (Link: http://shop.scrapmatters.com/product...6&cat=0&page=1) as well as Happy Scrap Girl's Ultimate Date Material (Link: http://shop.scrapmatters.com/product...7&cat=0&page=1. On the Left side of the double, I masked my photo, a nice effect and makes the pictures similar but different. On the right side of the spread, you can see faded stripes under the photos. That is the mask with a paper clipped to it! I adjusted the opacity down, and then changed the blending mode to "Lighten" ti give it a different effect. Such a simple change, and it really makes for fun masking! Try it out!
Fading Gradient Mask:
- Open your photo in PSE or PS.
- Start a New Document, by Right Clicking and Duplicating your photo in a New or Untitled file. Save.
- Within the Layers Palette, click on the "Mask" icon at the bottom of the palette. This will add a layer mask, which you can see next to my photo. This fade is essentially a white/black fade mask. White allows the picture to show through, while black will hide the picture. Grey areas will affect how transparent (aka opacity) of the picture.

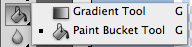
- Go to the Toolbars, and use the Gradient Tool.
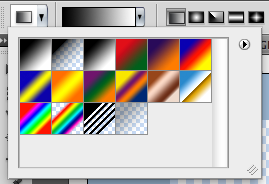
- Click on your layer mask in the Layers Palette, so you know you are going to create your mask in the correct location.
- Click on the bottom of your picture in the middle and hold your mouse. Now, drag the cursor upward. Stop where you want the fade to end. Let the mouse button go. A faded layer mask - complete.

Tip: Hold the Shift key to make your cursor move in a straight line.
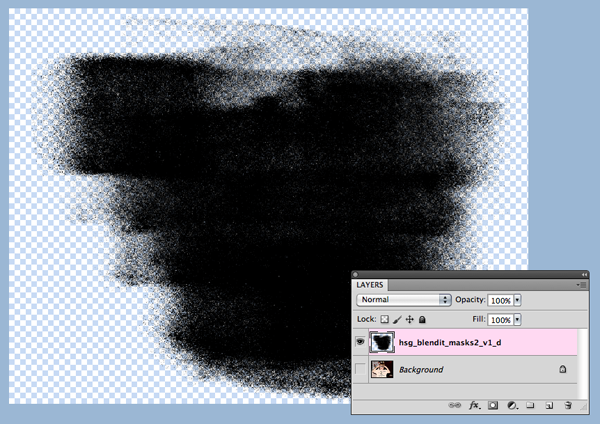
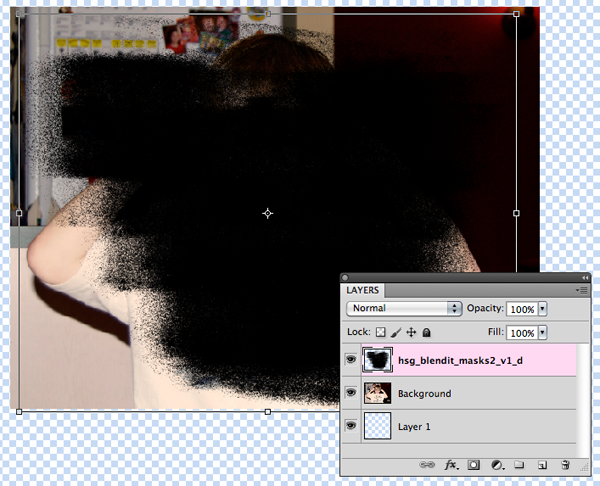
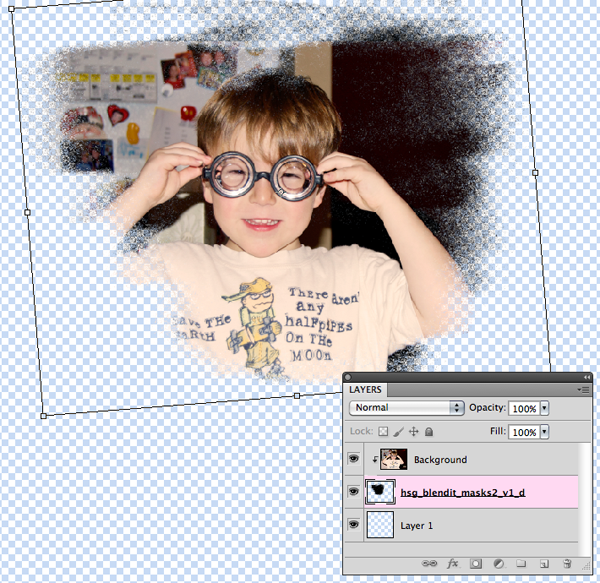
Brush Masks:
- Open your photo in PSE or PS.
- Start a new document by right clicking and duplicating your photo to a new or Untitled file. Save.
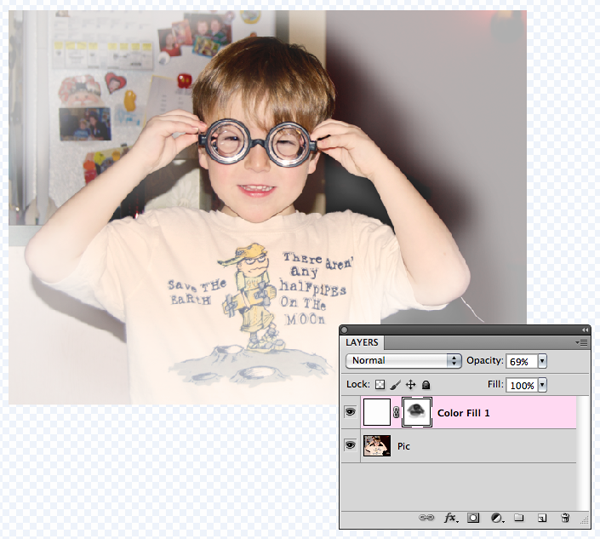
- Within the Layers Palette, add a new layer. (This new layer should be above your photo).
- Click on Layer in the Menubar, then choose New Fill Layer. Choose Solid Color, and then OK.

- Lower the Fill Layer's opacity until you can see the photo underneath.
- Choose the Brush Tool and select a soft, round brush from the menu.
- Choose black as the Foreground Color.
- Select the Mask on the Fill Layer -- this is the second square. Start painting in a zig zag or scribbly motion.
Tip: Before Brushing, change the opacity, and try out different amounts.
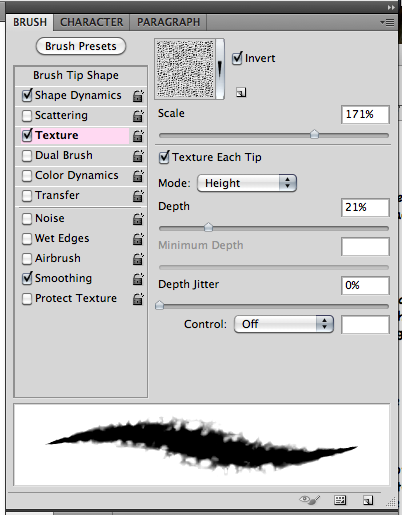
Texture Tip for Photoshop Users:
Click on the Brush Palette Tab, then click on the word Texture. Adjust the texture scale and depth to give a slight texture to the brush, according to your taste. Pictured here is Wrinkles texture on default options.Try out different textures and lay with the scales, depths, and Blending Mode to see what you can come up with.
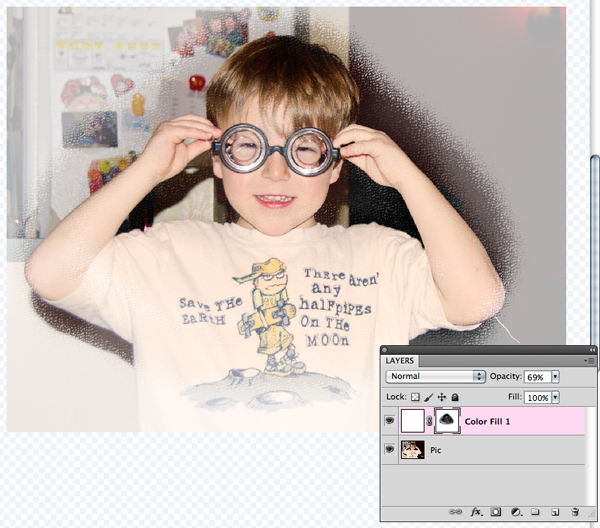
This image shows a faint change in the texture on the mask. A bit of texture can change up any image. Cool tool!
Now that you know a little bit more about masking and different techniques, try it out! Remember to duplicate your photos and save the files as you work! Play with the opacity, different blend modes for textures and the color fills. You might just have found a new favorite technique to try on your layouts! Have fun!
I originally created this tutorial for the ScrapMatters Newsletter for February. Sign up to the ScrapMatters Newsletter (more like a 20 page magazine) and get more tutorials like this, fun freebies, and great articles: HERE!
Thanks for visiting....
Jenn (jk703)
Great tutorial! Thank you!
ReplyDelete