Tuesday, November 23, 2010

Double Smouble You Say?!

Hi Everyone!  I'm back to ramble a bit for you! 
I am sure you are as obsessed as I am about Digi scappin?!  I am, and I only really started this past March 2010!  I have sure learned a lot!  I started out as a paper scrapper, and card maker, and then had kids!  No time to scrap and no time to clean happened... I'm sure some of you were in the same predicament!  

Anyhooo.... I decided to try digital, and then started wondering why it was bothering me a bit!?  I figured it out... I am a traditional scrapper at heart, and love the look of paper pages, as well, and layouts!  By layout, I mean the double layout!  

I learned that I like to make double layouts and I think in the long run it will work nicely when I get to printing that book I've been working on!  I thought I would just share a  fun tip from when I scrap my double layouts! 
I make my layout 24 x 12 and then I have a couple of guides set up at the 1/2 mark on the edge of the pages!  I use guides so I don't always have to wonder if something is going to get cut off in the printing process later on down the road. It looks like this:


The above picture is missing the middle guides at 11.5 and 12.5 on the inner edges.  Sorry about that!

When I make a double layout, I first start with my paper stacking, and then move upward in the layers area!  
BUT, I do tend to work on one side heavily with layers, clusters, placement and shadows! That first page is closer to finished than the other, but also saves me loads of time.  By doing this, I can then copy and paste many of the elements I like on page 1 side onto the side of page 2.  I can also group various layers, and duplicate them! Then when adding to the other side, flip or twist it in a way so it looks different!  BY doing this, I'm saving time not having to re-seize, shadow, or even some clustering!  

I also tend to save my layouts as double layouts.  I don't save each side individually.  I figure that if I need to make changes, it is easier to locate both pages together!  Also, I plan on shrinking my layouts (that is everything BUT the Background) by 10% before uploading to make sure nothing gets cut off when printed!  Just an idea!

Another time saving tip for me is templates!  I am a big fan, and I use them tons!  But how do you use a template for a double layout?  Well, if I use it as is for the first page, and I want something similar, then for the second flip it, mirror it, or just use something from it as a starting point, and mix it up to make that second page!  Many of my paper layouts were mirror images in terms of design... it just changed with what was actually included on the page!  

And remember to trim the excess of your files to save space!
Post created by me, and posted at Geek Chic Scraps: Here!

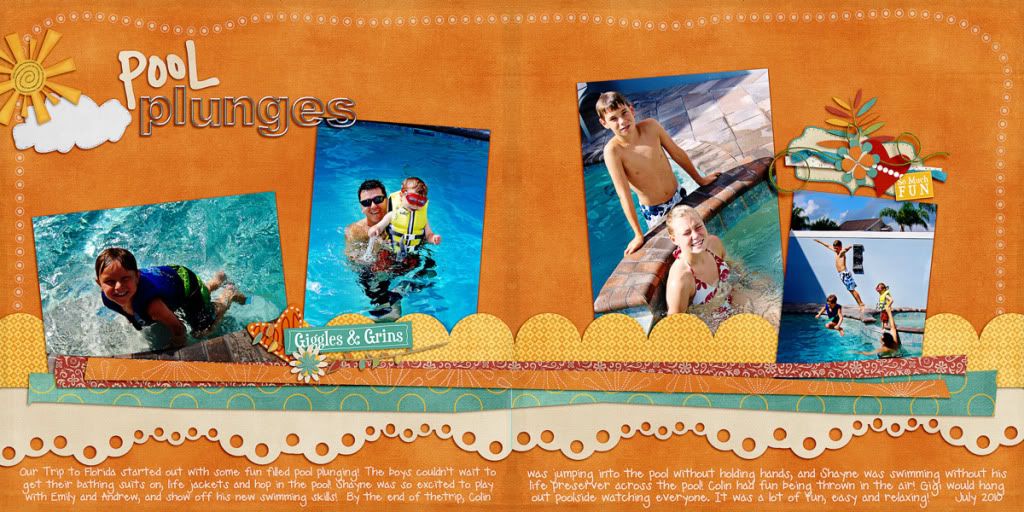
An example of my recent Double Layout:


Click on the Double for a Larger Version:
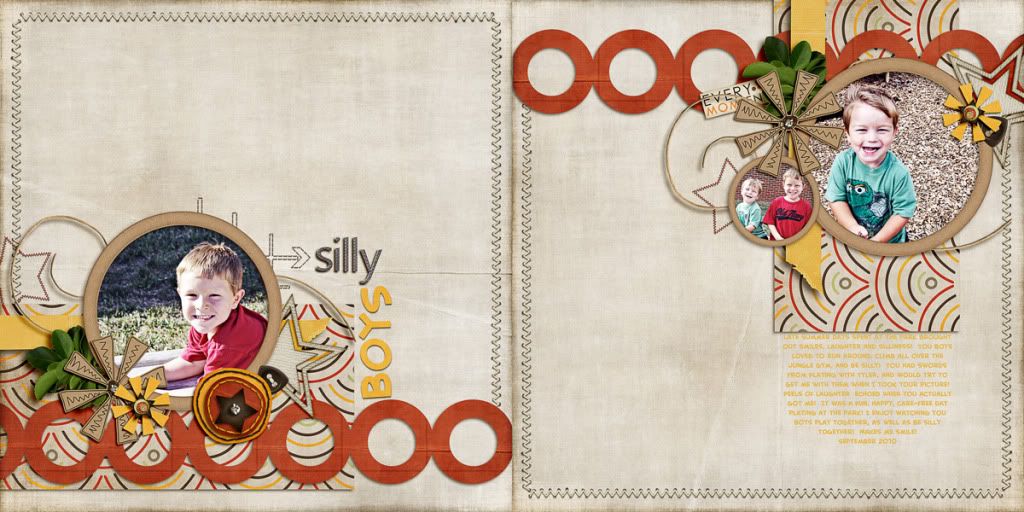

Captivated Visions -- It's About Him Kit
GG Digital Designs -- Clip Its 2
Font is Creative Block BB

Thanks for stopping by, checking thing out, and reading up!  I hope you all (who celebrate) have a great Thanksgiving!

Jenn
(jk703)

Saturday, November 20, 2010

November 2010 Layouts... I've been busy!!!! :)

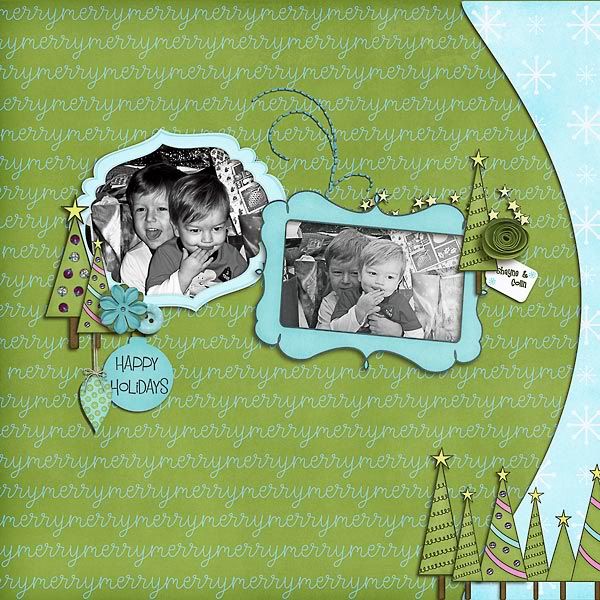
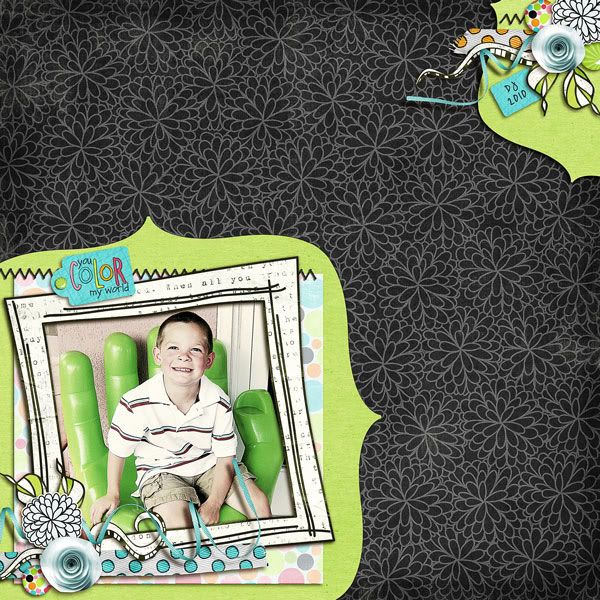
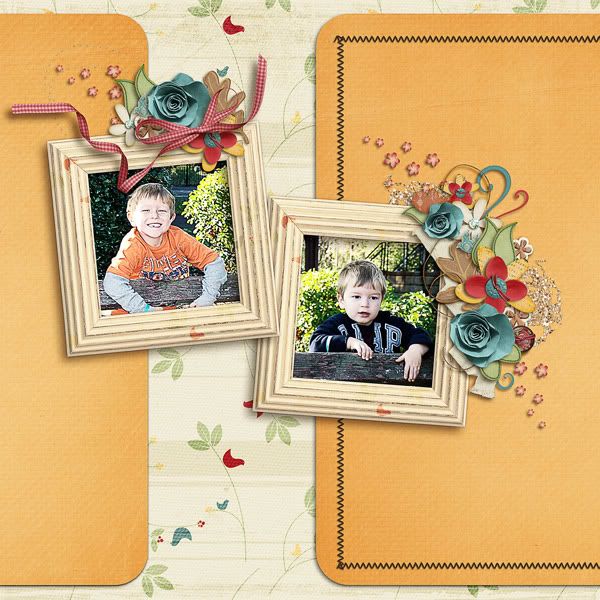
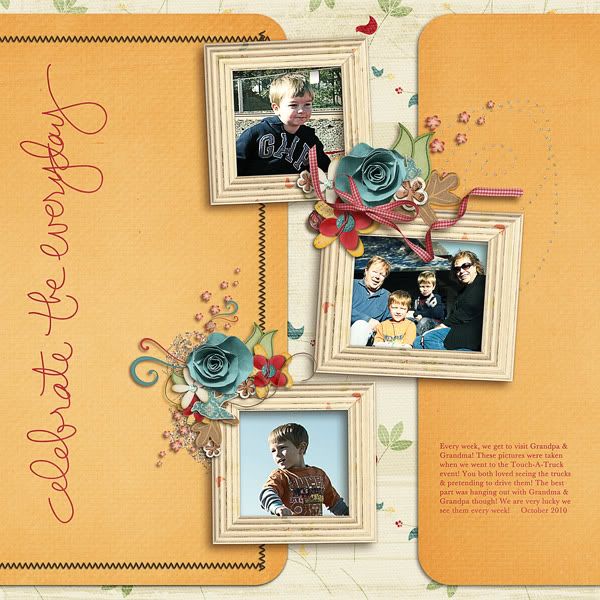
Here are some layouts that I created this month!  :p

Using Jennifer Labre Design goodies and Fiddle Dee Dee Shape Templates:
Double Thumbnail... click for the larger two pager:
TDC_FDD_Edgers_JLD_Color_PlungeDbl

P1
Photobucket

P2
Photobucket


Using Geek Chic Scraps's Twinkle -- part of the November Daily Digi Files found HERE
Double Thumbnail...click for larger two pager:
Photobucket

P1
Photobucket

P2
Photobucket

Using designs from Tracy Stroud, Designs by Ziska, and Ziggle Designs:
Photobucket

Using Captivated Visions and Stolen Moments, Second Spring:
Double Thumbnail... click for larger two pager:
Photobucket

P1
Photobucket

P2
Photobucket

and last but not least.... using Collab Goodies from Studio Gypsy and Studio True Blue.
Photobucket

Tuesday, November 16, 2010

Yummiest Treats!

Hi Everyone! 

I'm bringing you a few of my favorite Yummies Today! Woo Hoo!  I thought I would share some info for some fun desserts!

First, is the fantastic and popular: Bakerella! This site is full of ideas... cakes, pops, and great ideas! Boy, I wish I had an ounce of her talent! Here are a few pics from her blog:

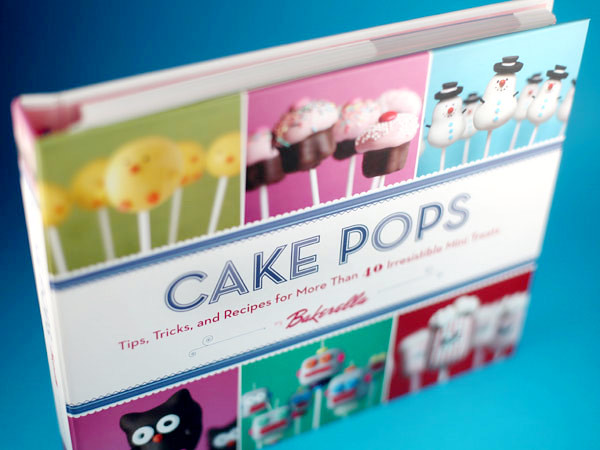
Her new book coming out soon (which I want to get!):

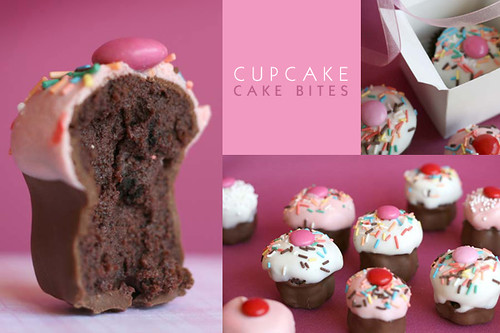
and some here are her so pretty to eat, but I would eat them! Cake Bites (her Cake Pops look just like these, but on a stick, various kinds):
YUM, right?!


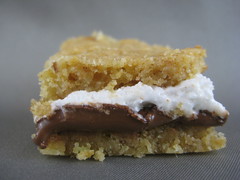
A great resource for recipes and yummy desserts is Nosh With Me: Easy to follow recipes, pictures and ideas! Great Blog! Here is a pic of her S'mores recipe that looks perfect without the fire!


As the ending... my all-time favorite is : Hello, Cupcake! This is a website, as well as a blog that showcases what you can make with cupcakes, icing, and candy! Check it out! I made a few of the recipes from their first book named: Hello, Cupcake! (lol):


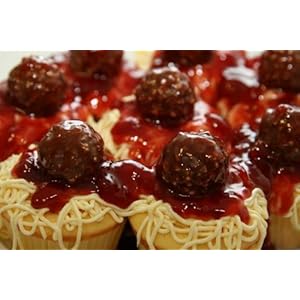
They have a second book that is out now, called "What's New, Cupcake?" I will have to head out and check that one out for some great new ideas!!! Check these out -- Spagetti and Meatballs!! Hello, Cupcake! Style...
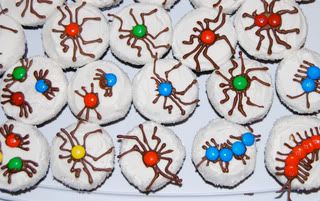
Here are pics from my own creations using their book... so you know they CAN be done! Some (Fun to Make) Bugs:

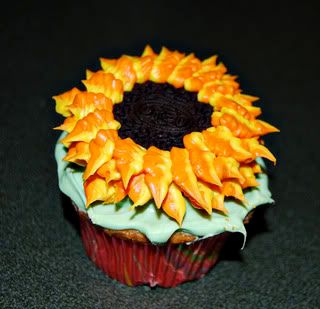
One of the (Really Pretty in Person) Sunflowers:

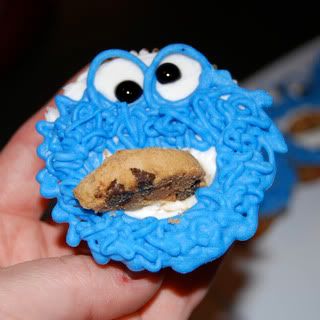
Here is one of MY favorites... just cause I created it! lol! My very Own Cookie Monster Look A Like:


Well, I hope you've enjoyed these blogs, photos, and tidbits! I am pretty sure that I might be leaving you hungry! Would love to see your edible creations, so share any that you've made in the comments!!! Have a great day!

Post Originally created by me for Jennifer Fox Designs: Here!

Jenn (jk703)

Sunday, November 14, 2010

The Marquee Tool

The Marquee Tool

Hi Everyone... I'm just starting to add my previous blog posting of tutorial and tips for Photoshop and Photoshop Elements.  This was one of my first ones.  I hope you enjoy reading about the tools that you may work with when scrapping away!  

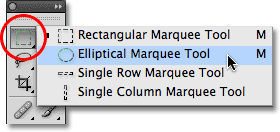
First, the marquee tool is on the tool bar and looks like this:


The Marquee Tool can be accessed by the shortcut Command + M or Control + M. At the most basic function, the Marquee tool is used for cutting, cropping and copying selections. As in the image above, there are 4 different ways to make selections: Rectangular, Elliptical, Single Ron or Single Column. The single Column or Single Row measurement is in pixels. Right now, you think you can only create selections using Rectangles and Ovals! Wait... we can fix that!

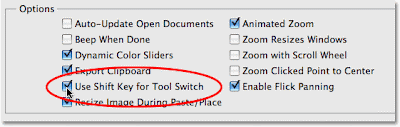
In your Photoshop Preferences selections menu, check off the Use Shift Key for Tool Switch option. This will allow you to create squares and perfect circles. When making your selection using the Rectangular Marquee, and holding down the shift, you will create a square selection. the same goes for the Elliptical marquee and circles.


There are times when you make a selection, and realize that it is not in the right location. Do you know how to move the selection? Here is how; hold dowm the space bar, and then begin to drag your mouse. Your selection will move and not re-size.

Now I will go over the marquee Options Toolbar. This will give you some knowledge of what all those little icons up on the top mean! And you thought they were decoration! HA! The toolbar option looks like this:


This bar allows you to make changes to the Marquee tool you are using, whether Rectangular or Elliptical. Those for funny square type shapes have meanings too! The first is called the New Selection Button. this allows you to make a new selection and delete the current selection.
The second small button is called the Add To Button. This option allows you to add to an existing selection. When you are making an additional selection you can also get to the Add On Option by pressing and holding the shift key while you are making the new added selection.

Subtracting from a selection is able to be completed by choosing the 3rd small button, and works in the same was as the Adding to the selection button. This button can be used by pressing the Alt Key on your keyboard, or for a Mac, the Option Key, and again this must be while you are making your selection.
Last but not least is the Intersection Button. This option can be used when you want to have an intersection area within the existing selections. By pressing and holding the Shift and Alt together (Shift and Option for Mac) you can do this while making your selection!

That is a lot to see and understand... lemme know if you have questions!

Have a great day everyone and thanks for stopping by! 
Jenn (jk703)

Thursday, November 11, 2010

ACTION!

Hi Everyone! 

 I am so excited to be here and be able to share one of my most favorite websites!  Now, I know we all love and obsess over our digital scrapbooking pages, but we can't forget our photos!  They are the reason we show off our pages and how we capture the moments to remember! 
So without further ado... my favorite photography website is:  MCP Actions!


MCP Actions is my home for any actions and photo treatments that I use for my layouts! They are awesome!  There are so many you can choose from, and a few freebies that the owner, Jodie Friedman, gives away on the site!  Some will cost you some moola, but in my own personal opinion, they are so worth it!  They can really change the picture, and make it so much more than what I had to start with!  Plus, any operator related photo problem seems to be fixable when I use the various actions! 

Here is the link to all of her freebies:  Free Actions.  There are many for Photoshop, but a lot for Phostoshop Elements too!  My most favorite freebie is the - The Take Action on Cancer Awareness Action:


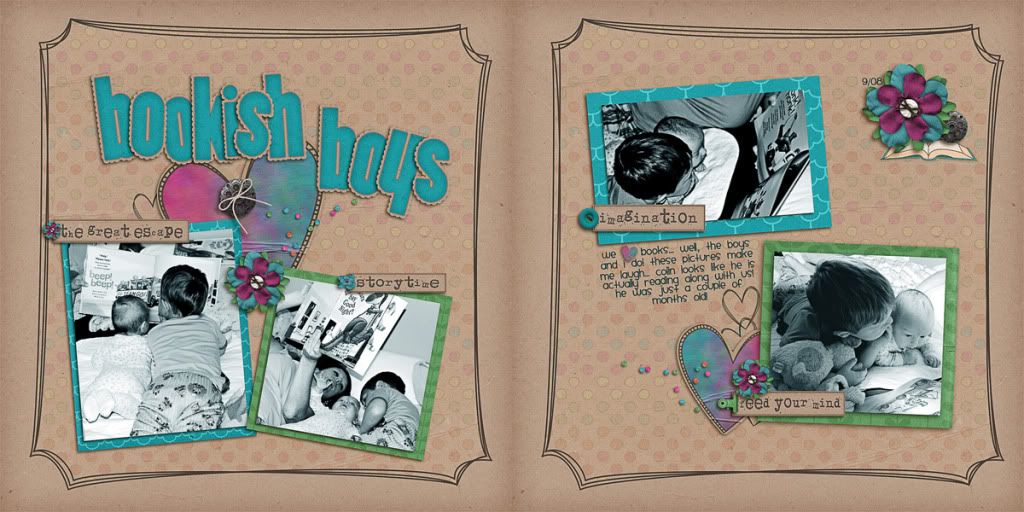
It can really dress up your photo or change the tone of the pictures to match your layouts!  Perfect coloring and completely able  Here is a direct click:  Free MCP Action for Cancer Awareness.  This set is so cool... and I used it on my layout with the most recent kit:  Book Worm!  Here is a thumbnail to my layout, just click it to make it a little bigger:  

GC Bookworm

I use a product from MCP that goes by the name of :  All in the Details!  This fab set really has a lot to offer, and then when you mix actions and more actions.... you have so many possibilities!  It really can help in making the best photos for your memories! 

Hope you enjoyed this post with me!  I enjoyed sharing one of my favorites with you! Leave a comment and link to your MCP Photo Actions; I would love to see them! 

I originally created this blog post for Geek Chic Scraps:  Here!

Happy Photo Fixes!