Friday, September 30, 2011

Vibrance Tutorial

Hi Everyone!  Hope you are all having a great start to your weekend!  So, for my tip today, I'm going to share a little secret to adding a little vibrance to your photos QUICKLY.  We are always trying to do things faster, and that works with our scrapping too!  Here we go...
Here is my original picture opened in Photoshop. (I use CS 5)

Now, in the Menu Bar, I choose Image > Adjustments > Vibrance.

Next, a small pop up menu will appear.  It will have sliders marked Vibrance and Saturation.  Slowly move the sliders to the left and right. If you have the Preview box is checked off, you will be able to see the changes in your image as you are sliding the cursor.

I moved my sliders to the right, and increased the vibrance and saturation.  Play with them at different settings, and see what you like!  A quick and easy way to add a little pop to your photo.

Thanks for stopping by and checking out a quick tip!  Hope it added a little vibrance to your day!


Originally created by me for Chelle's Creations: HERE!


THanks for stopping by!  Come visit soon!
Jenn (jk703)

Wednesday, September 28, 2011

Black and White Made Easy


Hey Everyone!  It's Hump Day!  Yay!  I hope that you are ready for the upcoming weekend! It will be October!!!   Today, I decided to make my post about a quick How-To for Black and White Photos.  The weekend will be a perfect time to try out this technique. It's not too difficult and can really make your otherwise dull black and white photos pop!

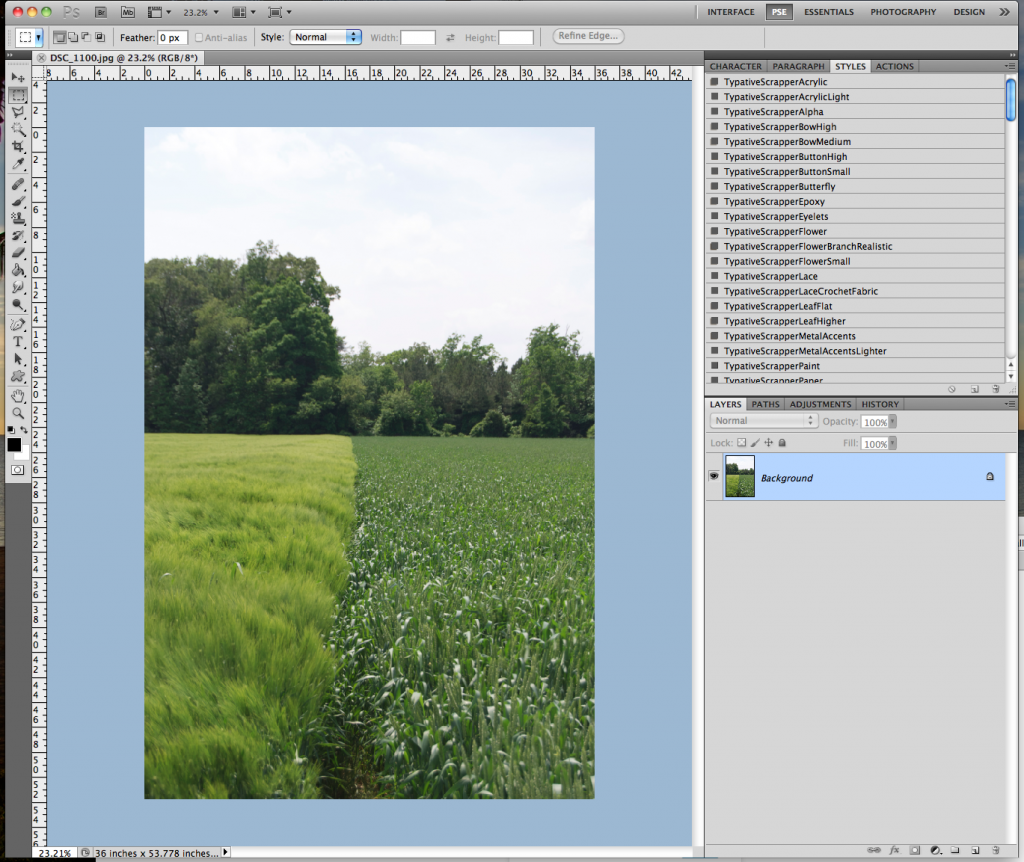
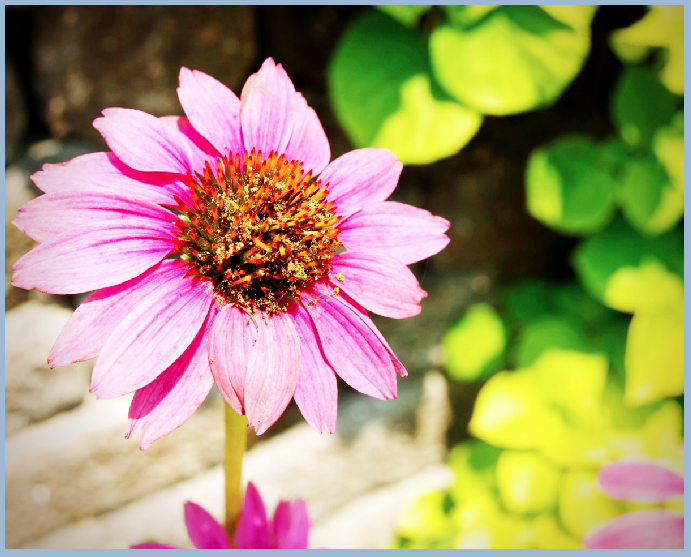
Black and White, otherwise B&W, can be a way to create a striking photo and bring a lot of contrast to your digital scrapbooking layouts.  Here is my starting photo - a pretty flower I snapped while on vacation this summer. It is a very bright photo and I love the
perspective.


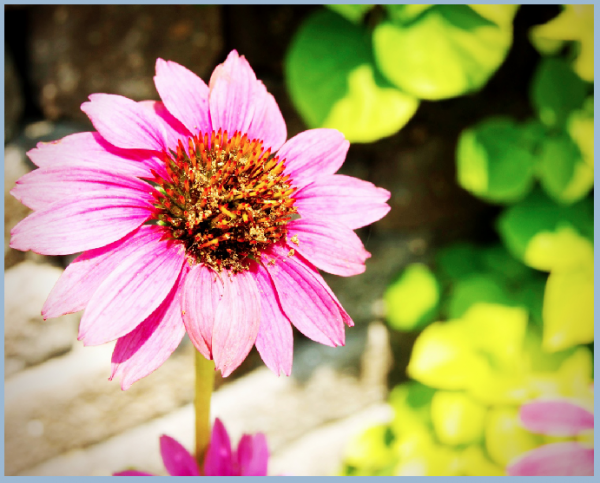
Let's say that I am making a layout also with bright colors in the papers and elements, but I really want to use this photo.  Instead of a too busy or too colorful page, I want to create a focal point on my layout.  To make the photo pop, I am going to make the photo B&W.
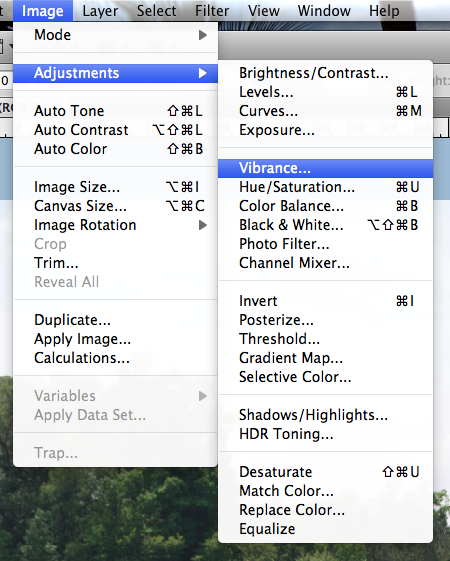
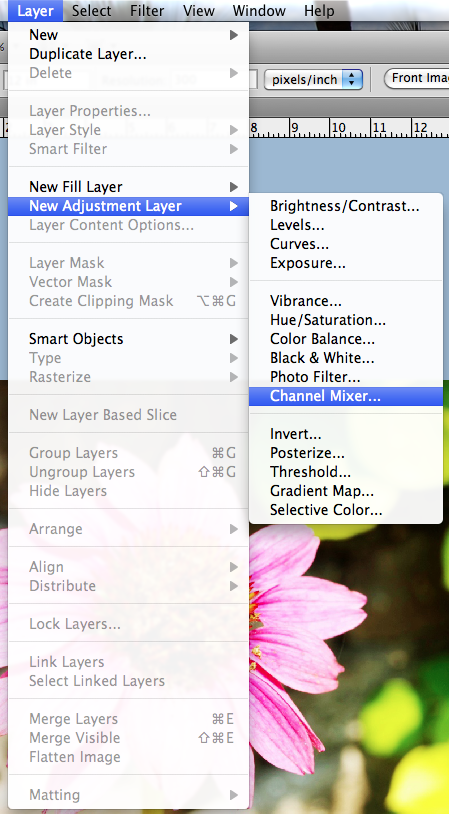
First, remember to save your image before completing your edits so you will always have the original photo if you ever needed it. Next, with the photo selected,  in the Menu Bar, click on Layer. Scroll down to New Layer Adjustment, and choose Channel Mixer.
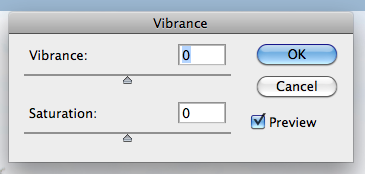
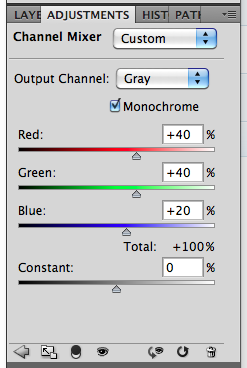
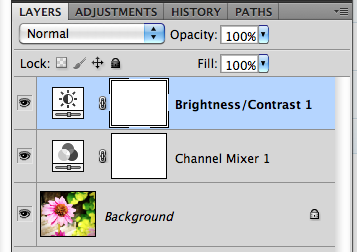
The Adjustment Palette will pop up (mine is within my Layers Palette, just another tab).  You will see a few slidebars, and a small box that is for  Monochrome.  Click this box and make sure there is a check mark ticked.
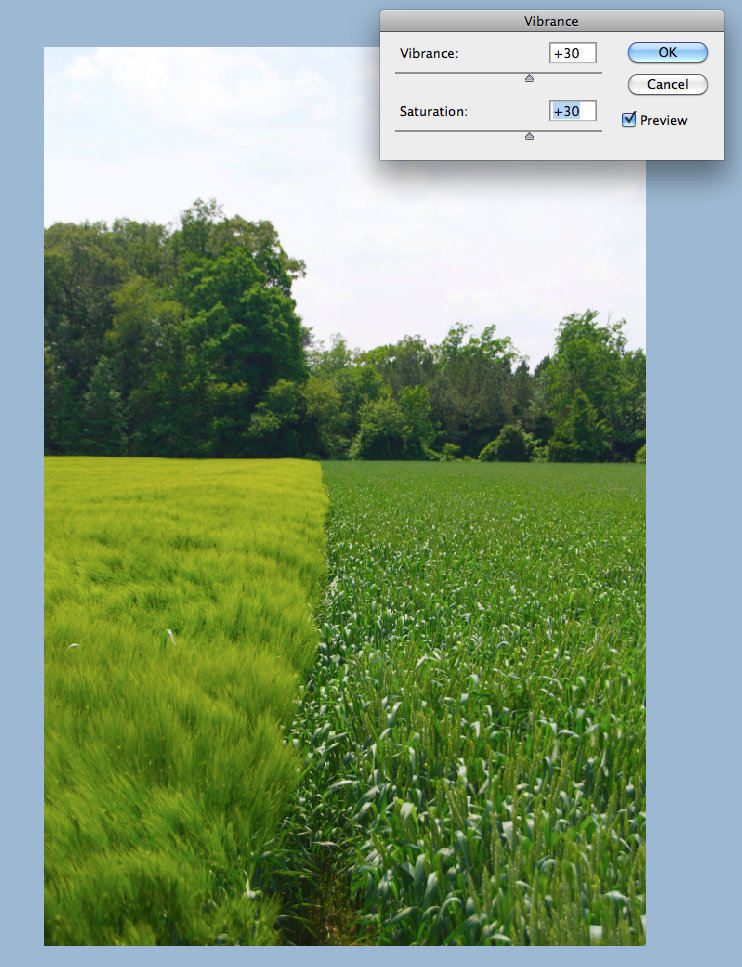
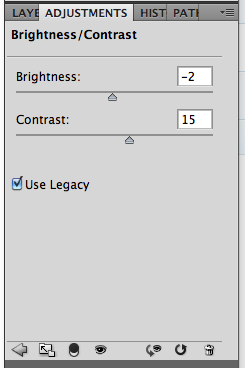
Your photo will turn to an instant Black and White.  But wait... there's more... Again, in the Menu Bar, click on Layer > New Adjustment Layer > Brighness/Contrast.  Here are the options available to you in this particular adjustment.
When you look at the Layers Palette, you will now see another new adjustment layer. By tweaking the contrast, your photo can become a little more sharper and really jump off the page.  Here is my after picture below.  See how the center of the flower is a little more focused and the edges of the shadows are just a tad deeper.
Here is my final Black and White Photo.
There you have it - an easy way to make a photo black and white!  Plus, the know-how to tweak the brightness and contrast to your own liking!  Enjoy your pictures and make
them pop off the page!

Originally created by me for Chelle's Creations: HERE! 

Have a great day, and thank you for stopping by.  Come back soon!
Jenn (j703/The Typative Scrapper)


Thursday, September 8, 2011

Filter Focus: High Pass Filter

Hi Everyone... I'm here to show a sneaky easy peasy tutorial to sharpen with a slight pop for your photos! Plus, we are going to learn another filter that is available in Photoshop and Photoshop Elements. We are going to look at the High Pass Filter today...

The High Pass Filter adds a little pop to your photos within seconds and is really easy. The filter allows you to control the awareness and emphasis of the edges of objects that are in your photos. It is also used to sharpen your photos when they might just be a tad out of focus. Here we go...

Here is a Colin... my model for this tutorial! lol! My image is unedited and hasn't been processed at all.
1. First, save your image so the original will be available in case there are any problems. Duplicate your photo onto a new layer. (PC Ctrl-J and Mac Cmd-J).

2. Working on the new layer, choose Filter > Other > High Pass.
3. Set the radius of the pixels somewhere between 3 and 12. Click on Apply. I know that is a large range, but play with it, you can always undo! For my example, I used a radius of 4.7.
4. Now, in the Layers Palette, you are going to change the blend mode of the duplicate image, the one that is grayed out. Choose Overlay.
5. Play with the opacity of the overlay, and you will see slight differences in the edges in your photo. This brings out some of the color and allows for an easy simple pop.


Tips:
  • To sharpen the photo without a color pop, try the Soft light or Hard Light blend modes.
  • Adjust the sharpness based on what you will be doing with the photo - print or web versions.
  • Try creating different layers, and changing the blend modes, and opacity to see what you like the best.
  • Try it out on your layouts before uploading to the galleries! A little sharpness goes a long way!
Another example is my sandwich, yes... my life-like magnet sandwich! Looks realistic, right?!
Before High Pass:
After High Pass:
See the top of the sandwich and edges -- they are a little more defined with just a tad of a pop added to the color.

There you have it - an easy pop and sharpen! Hope you enjoyed this tutorial! I'd love to know what you want to see here on Chelle's blog - so be sure to tell us in the comments! Enjoy the rest of your week!

I created the original post for Chelle's Creations.

Thanks for visiting!
Jenn (jk703/The Typative Scrapper)